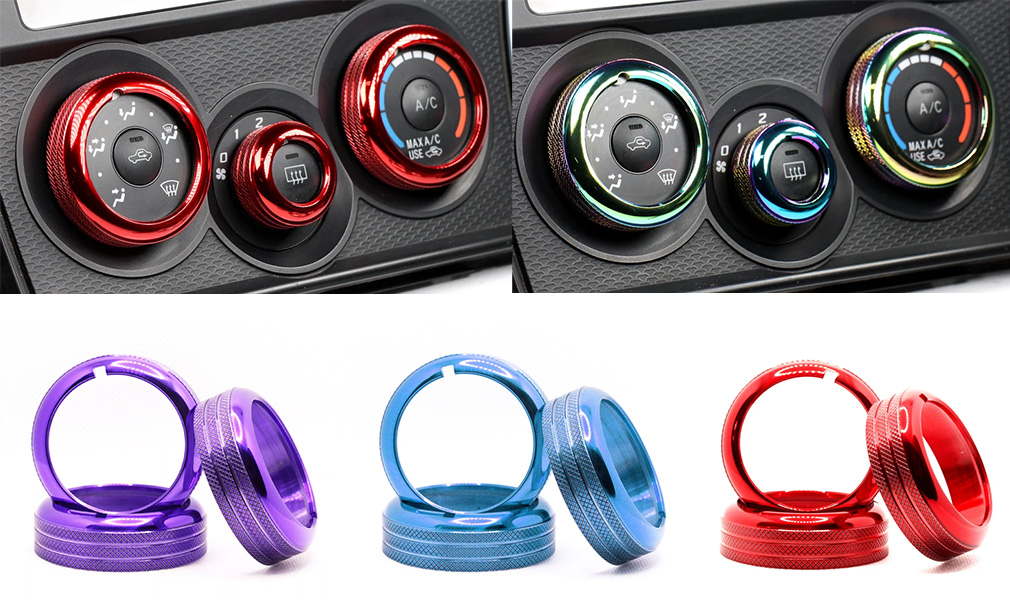
Knurling is a manufacturing technique typically performed on a lathe or CNC machining parts, which involves creating intricate patterns on the surface of a component. These patterns can consist of straight lines, angles, or interlocking designs. Knurled CNC products not only enhance the durability and aesthetics of the part but also improve its grip. It’s important to note that knurling patterns come in various types, including straight ridges or spiral arrangements of these “straight” ridges, which differ from the more traditional cross-hatch designs.
Knurling is an effective method for refurbishing custom machined parts because the raised portions of a knurled surface help reduce wear on the part. The technique is also useful in the assembly of metal pins into plastic molds.
Knurled CNC parts are used in the production of various items such as tool handles, racing gear shifters, machine control buttons, and barbell rods. Additionally, knurling is commonly found on dart handles, BMX bike pedals, and even in the manufacturing of surgical instruments.
1. Manual Knurling vs. Machine Knurling
There are two types of knurling techniques: manual knurling and machine knurling. Let's take a closer look at each process:
01 Manual Knurling
Manual knurling requires the use of a tool called a manual knurling tool, which may contain one or more knurling wheels with patterns like diamonds or diagonal lines. When the manual knurling tool is firmly pressed against the surface of knurled turning parts and starts to rotate, the wheel applies pressure, causing the material's surface to deform. However, manual knurling can result in inaccuracies, and the operation must be continuous and uninterrupted to prevent overlapping knurl lines.
Manual knurling is typically used for smaller workpieces that can be handled by hand, resulting in simpler knurling patterns, while more complex designs are usually reserved for machine knurling.
02 Machine Knurling
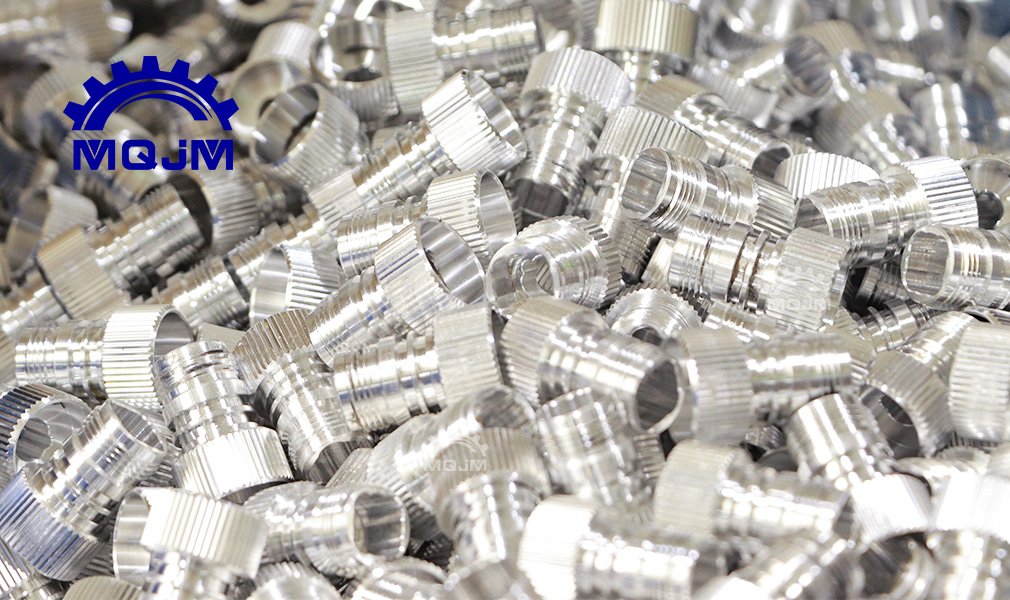
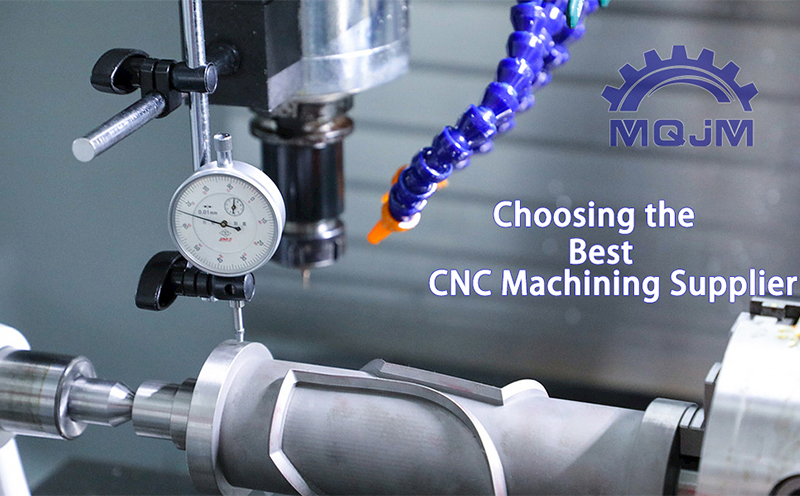
Machine knurling is performed using a lathe or CNC machine, especially when producing knurled CNC products. First, the workpiece is securely fastened in a lathe or CNC machine. The knurling wheel then contacts the workpiece, creating the desired pattern continuously and accurately. This method ensures precision, allowing for the production of fine-pitch knurling patterns with tight dimensional control. Lubricants are used to prevent overheating, and constant chip removal is necessary to ensure smooth operation.
2. Knurling Process
The knurling technique requires specialized knurling wheels to generate the desired pattern on the surface of custom CNC machined parts. Below is a description of the process:
Step 1: Selecting the Right Workpiece Material
The material must have sufficient ductility to move when pressed by the knurling tool. Common materials include aluminum, brass, low-carbon steel, and various plastics. Harder materials may require special knurling tools and lower speeds.
Step 2: Choosing the Appropriate Knurling Method
Manual knurling is best for softer metals, while machine knurling can achieve finer details in harder materials, especially when manufacturing intricate knurled CNC parts.
Step 3: Setting Up the Knurling Wheel or Tool
Knurling wheels come in various teeth shapes, angles, and materials to suit different purposes. The wheel is held in place by a knurling holder attached to the tool post.
Step 4: Properly Mounting the Workpiece
The workpiece must be securely clamped in the lathe chuck or between centers to prevent slipping under the stress of knurling.
Step 5: Executing the Knurling Operation
The knurling wheel or tool is lightly pressed against the rotating workpiece. Consistent alignment and pressure are essential for even knurling. The wheel or tool is fed into the workpiece, causing raised or indented patterns to appear. Harder materials may require multiple passes to achieve sharp, high knurling.
3. The Art of Knurling Patterns
01 Straight/Standard Knurling
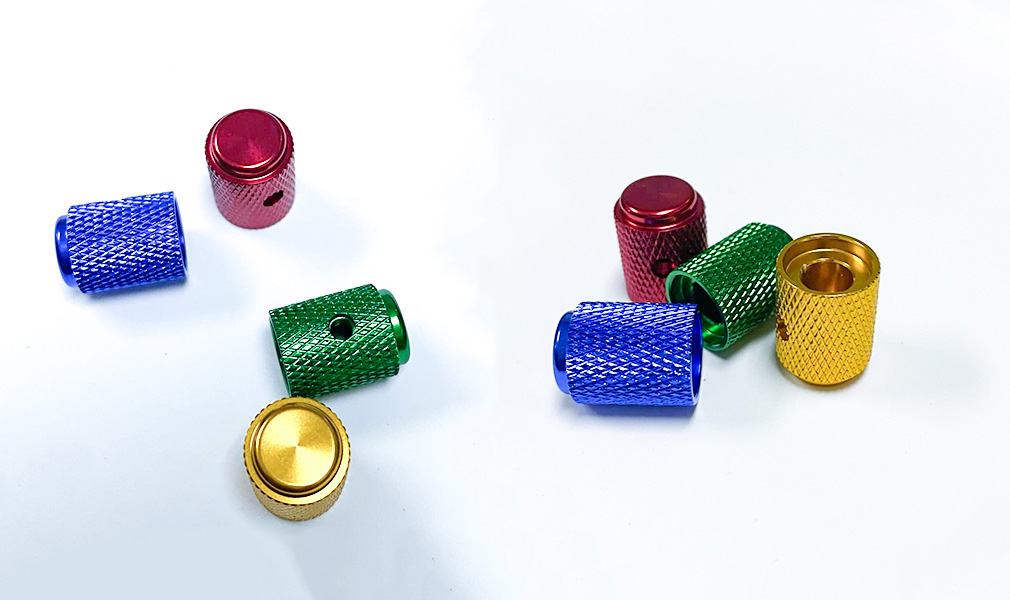
Straight knurling wheels create linear grooves on the surface of a workpiece, typically used on cylindrical objects like handles and knobs. This technique is ideal for high-end writing tools and custom machined parts, adding an elegant aesthetic.
02 Diagonal Knurling
Diagonal knurling is applied to cylindrical surfaces, enhancing grip. Depending on the direction, it can be categorized as left-hand diagonal knurling or right-hand diagonal knurling.
03 Diamond Knurling
Diamond knurling involves crossing diagonal lines to form diamond-shaped ridges. This method is widely used on knurled turning parts and decorative accessories, where high friction and durability are required.
4. Practical Benefits of Knurling
01 Enhanced Grip and Safety
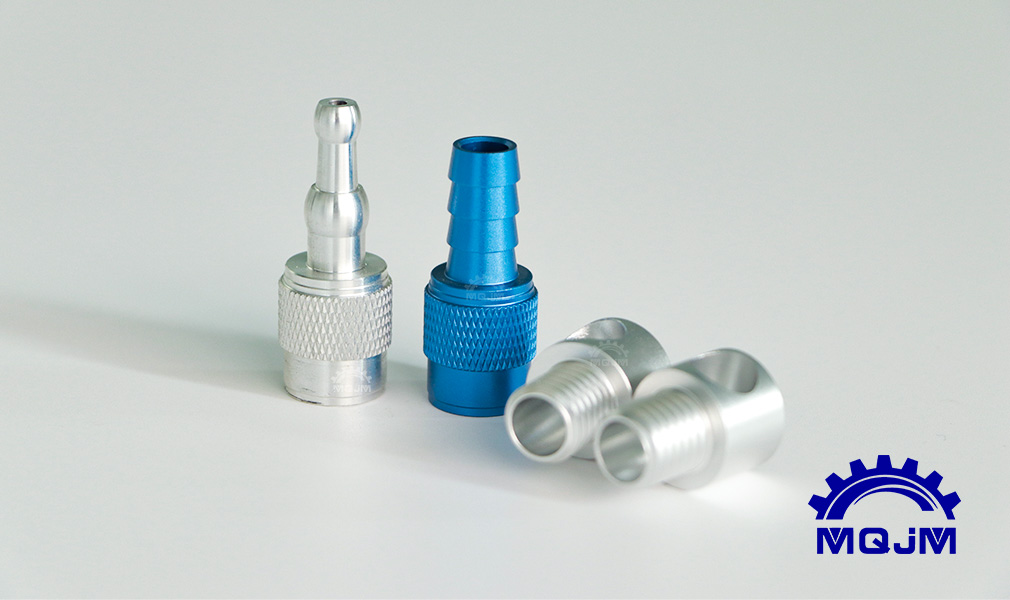
Knurled surfaces significantly increase surface friction, preventing slippage during use. This is especially important for knurled CNC parts, ensuring secure handling in applications like bolts, knobs, wheels, and rollers.
02 Aesthetic Enhancement
Knurling not only provides functional advantages but also adds a unique texture and visual appeal to products.
03 Improved Paint Adhesion and Branding
The increased surface area from knurling enhances paint adhesion, and manufacturers can also incorporate branding elements into the knurling patterns.
04 Functional Usability Across Industries
Knurling benefits a wide range of industries, from pipeline equipment to automotive components, making it a highly versatile process in manufacturing and engineering.


